Table of Contents
notes from Fox
I have a lot of characters with haircuts that have shaved sides or undercuts or mohawks, so as a comic artist i had to find a way to streamline this. But because of my neuroses, i also need to manage to keep it fairly convincing or else i’ll die in the Anxiety Pit.
This tutorial is rather thorough. I use a lot of Fox words and provide a lot of Fox commentary, and you might be someone who just wants the bullet points. so just for you there is a bullet-point version that you can access through the table of contents.
This tutorial is made by me with my needs and techniques in mind. I’m not a master or teacher, I’m literally just some guy with ADHD and chronic pain who makes comix. I’m focused on using shortcuts that save time AND look convincing to suit my modus operandi. so
like
if it doesnt work for you, you can alter it to suit your needs! Or you can do something else or.. idk. go outside or something. (it’s nice outside rn so i might actually do that myself.)
This tutorial is made using Clip Studio Paint. You can absolutely translate this technique into just about any other art program, but you’ll have to find the equivalents in your interface. I do not have information on how to do this, so you gotta figure that out. But youre smart, im sure you got this.
TL;DR VERSION : TRUE SPEEDRUN
for y’all who just want the bullet-points:
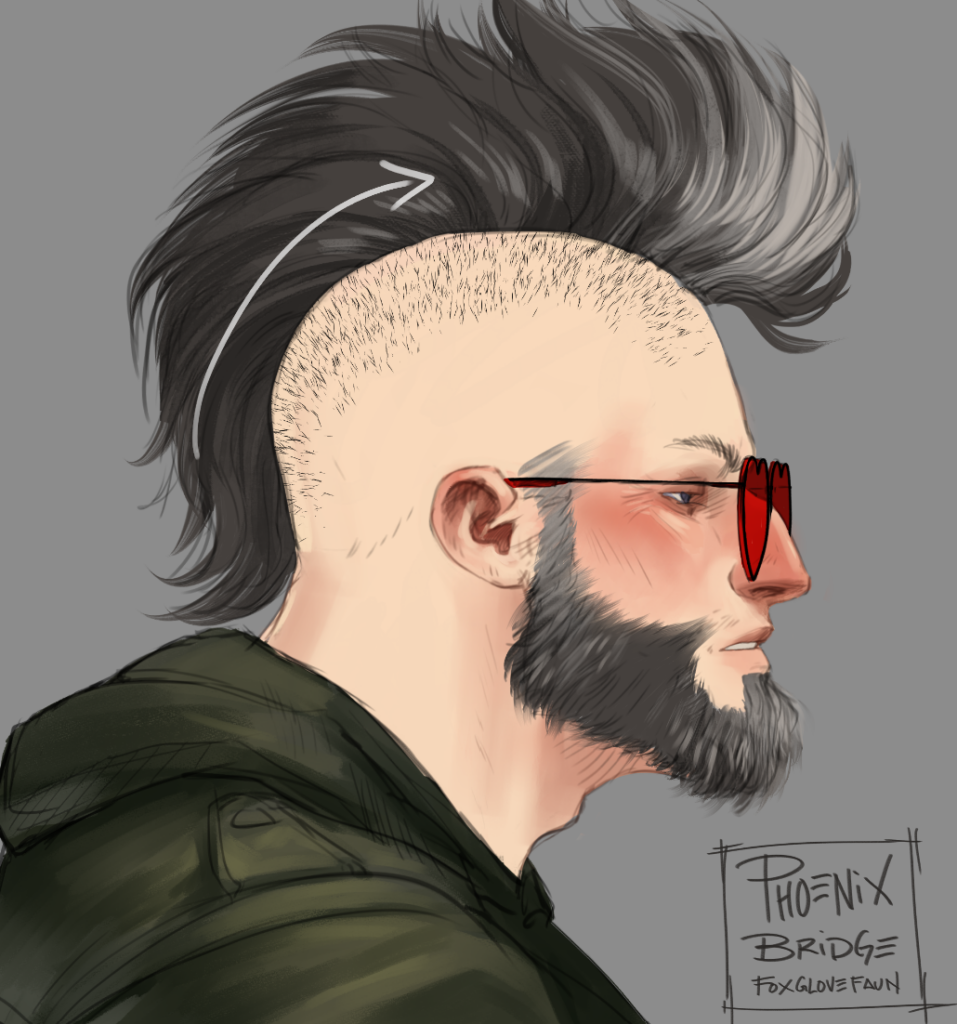
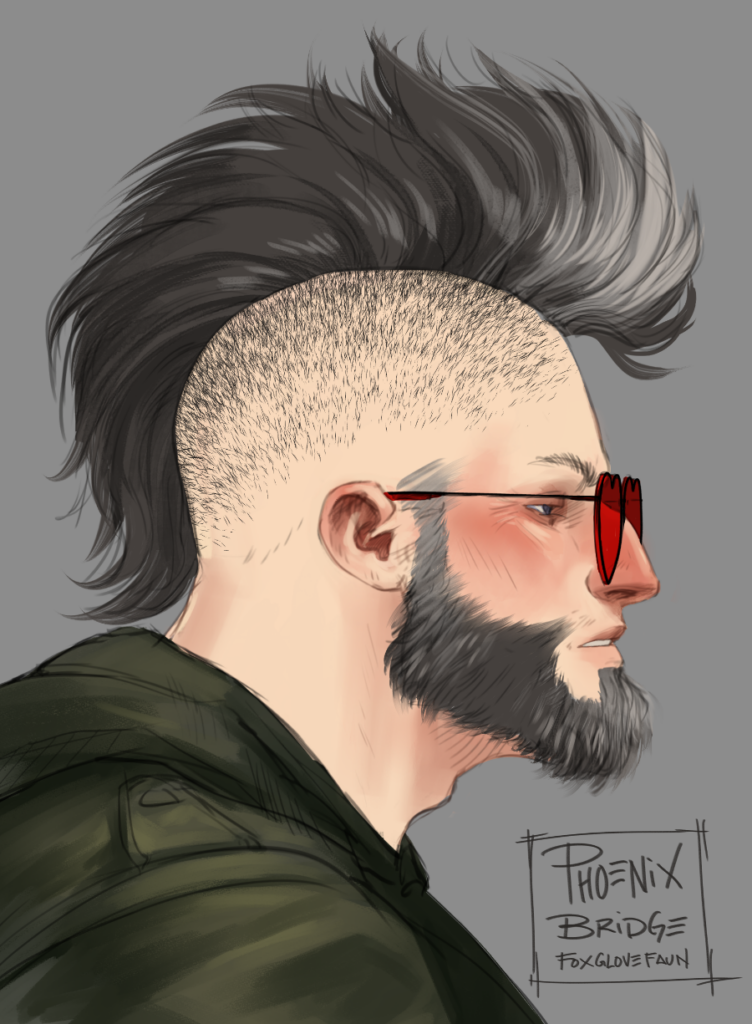
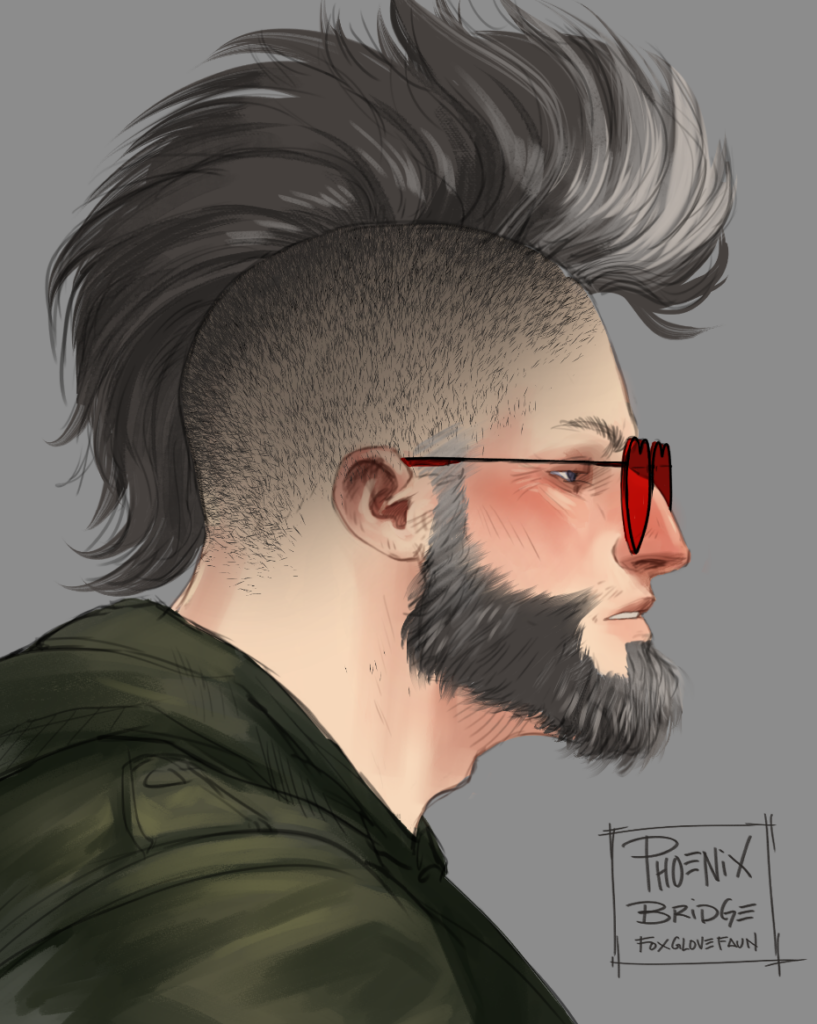
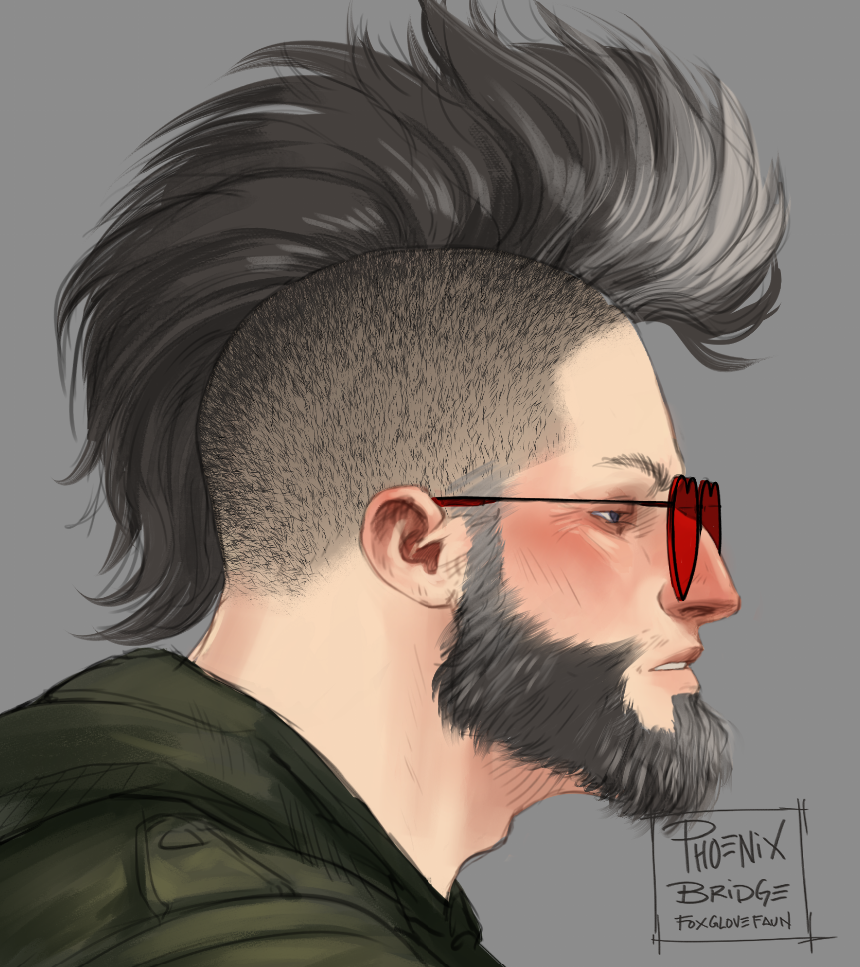
and for y’all who want a fully explained version on my way of doing this thing:
LONG VERSION TUTORIAL BEGIN: Fox's Shaved-Hair Shortcut Speedrun Tutorial
This all boils down to 2-3 brushes, a sensitive hand, two layers, and a couple brush strokes.
In theory, this can technically be done on one layer with 10 strokes total.
To really speedrun this i recommend that you have:
– a stubble brush
i usually use this one, but i think with enough tweaking any stubble brush will work.
https://assets.clip-studio.com/en-us/detail?id=1876366
i dont have feedback yet about a stubble brush made for Procreate, so I dont have a recommendation for that, but when i got more info i’ll drop it here. :)
– a soft-edge airbrush
Your art program should have a default airbrush tool, but make sure that the edges are ultra soft for this method. A hard edged or speckly airbrush will affect the over all look, which isnt a bad thing! but it’ll look different from what’s in my screencaps so just keep that in mind.
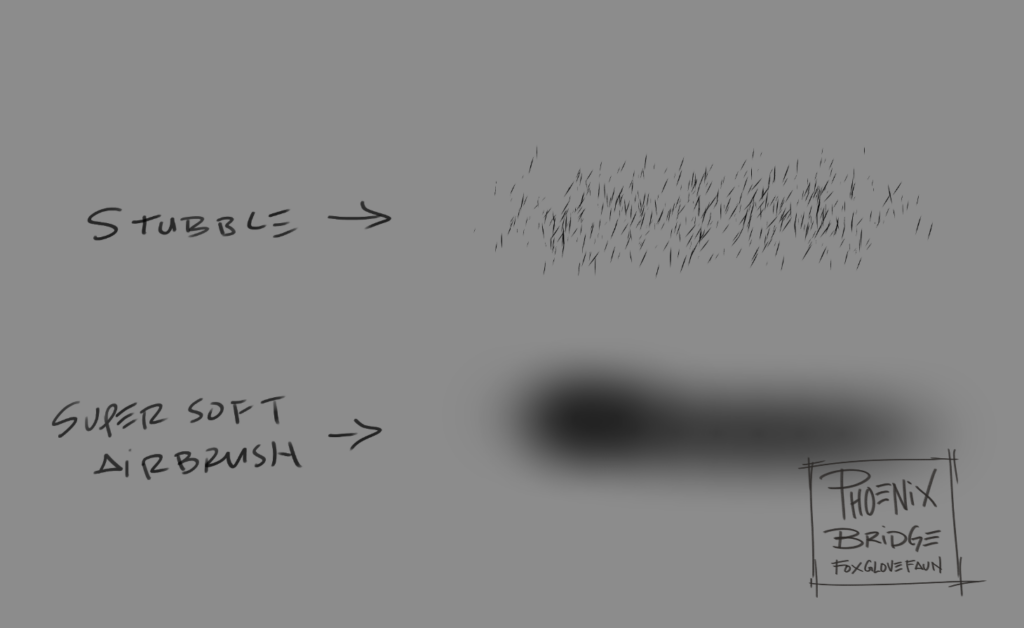
These are my two reliable bois and they are what i’ll be usin today.
SO
Draw your person or open that WIP. I usually have a skin layer to paint on top of but you don’t need it to use this technique. cleanup just might need a couple different steps.
1. create a new layer and clip it to the skin layer below. if youre doing lines only, skip this step.
(im not teaching you about layer properties today. if you need to learn about that, the basics are here.)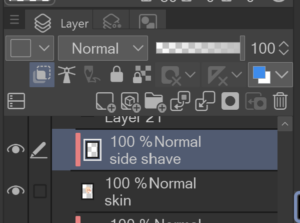
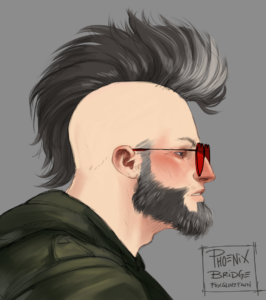
2. Identify your character’s base hair color and select the stubble brush
– If youre looking for a bit of realism, i would recommend using their natural hair color if they have a fashion hair color. If a character has multiple hair colors, i’d recommend using the darkest one.
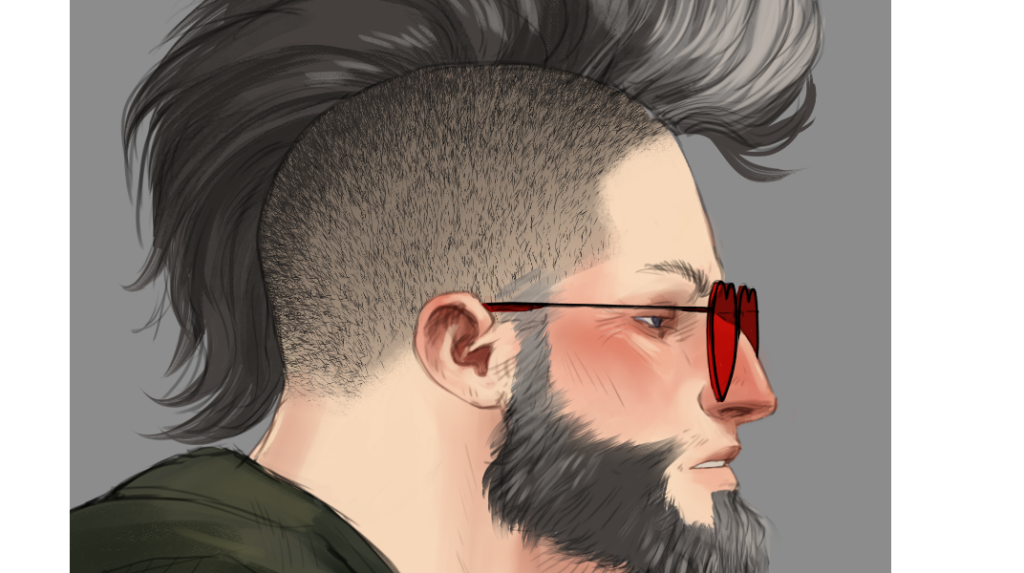
Haircuts vary so you’ll figure out what works best for your character. But in Ross’s case i’ll start at the top and begin sweeping with a light stroke across the top of the head and sort of follow the curve of the skull.

3. Begin to mindfully layer more strokes on top of the first one and work down the form, following the same direction as the first one.

This layering effect is what really makes this shortcut look convincing. Without it, it will kind of look choppy and flat, and will look more like a texture was drag-n-dropped on top of a color.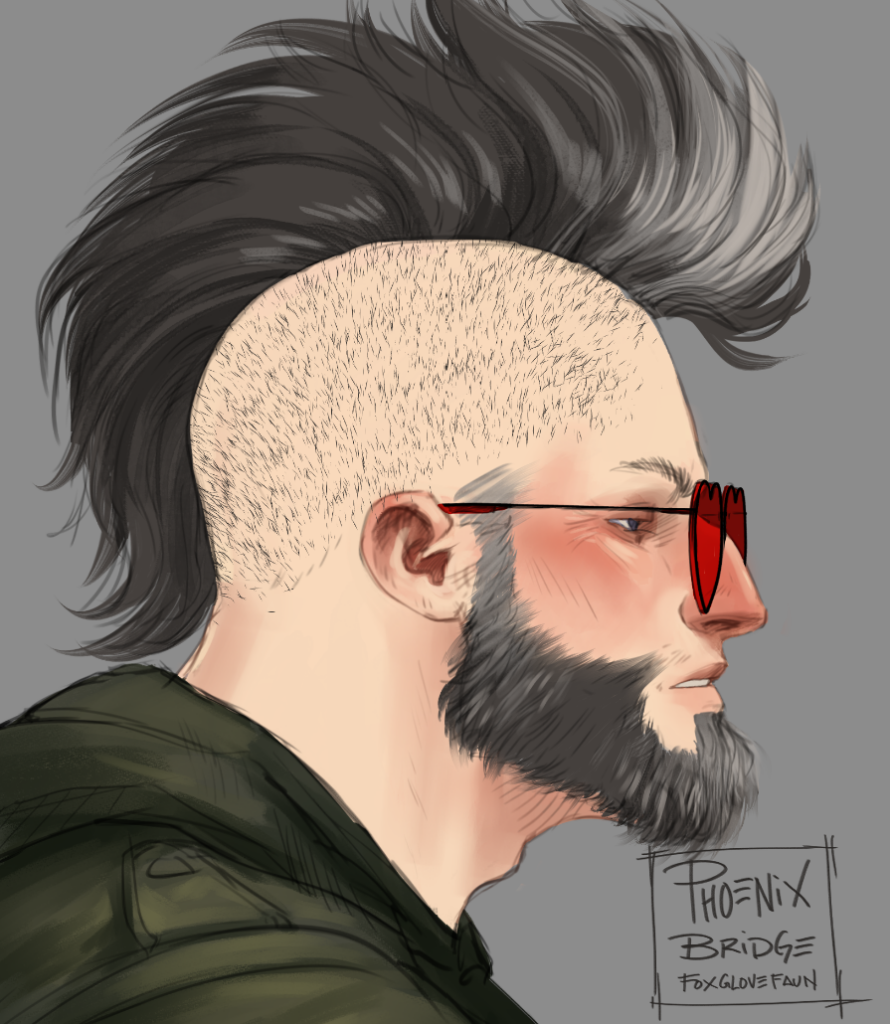
Now, you CAN do this. But I wouldn’t recommend it. From what I’ve observed, using texture techniques carelessly can highlight the fact that you’re using a shortcut without really understanding what you’re doing. Some people might not be bothered by this, but I try to avoid that as much as possible.
As with most things, the extra effort and time is worth it, and you and your work both deserve it.
* if you wanna really go hard with your focus, try to place the most concentrated application of the stubble to the areas closest to the edge of the form. the curve of the skull creates this same illusion in real life because of how objects in space work, so this can take the shortcut a little further.
OBSERVE:
To understand what i mean, look at someone who has their hair clipped down to like a 2 or 3. you’ll see that where the “sphere” of the head faces you has hair that will be kind of thin and spaced out, and closer to the “edge” of their head there will be a greater concentration of hair.
4. I’ll continue with this technique maybe two or three more times using very light strokes, continuing to work from the top to the bottom or end point. For Ross this end point is at the nape of his neck.
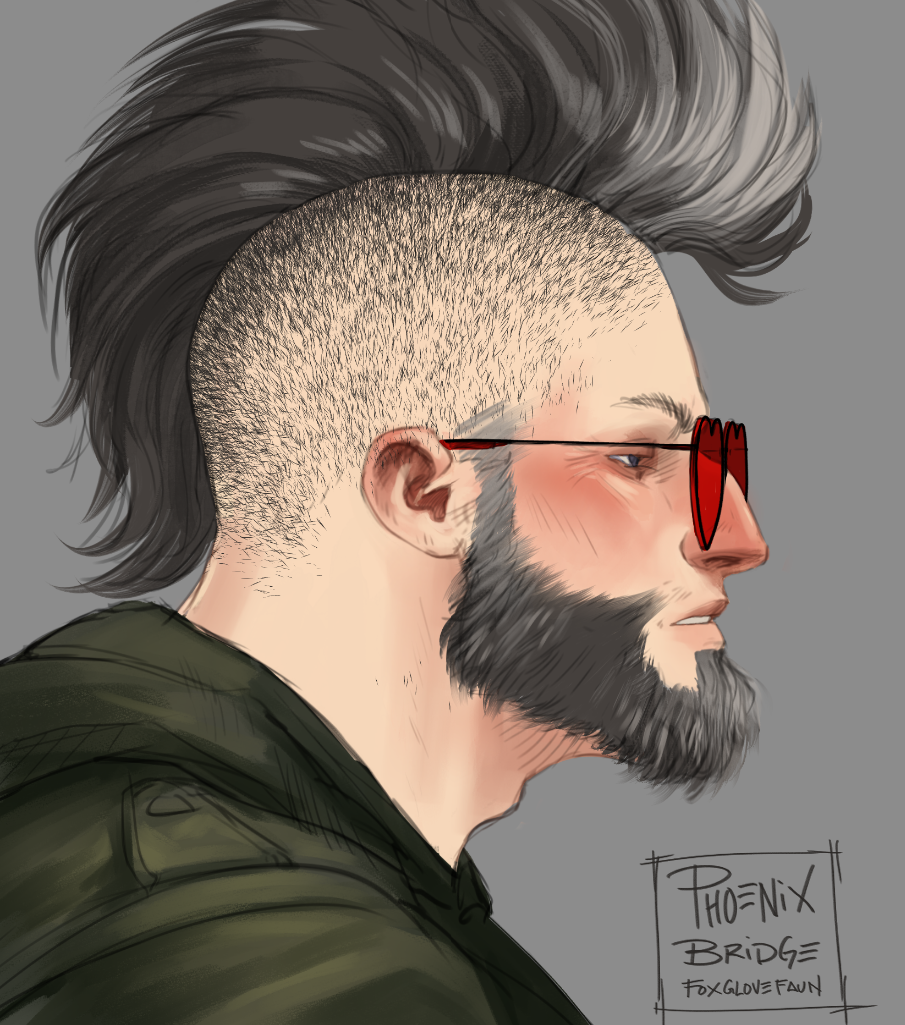
If you’d like you can totally continue this way and render it as far into oblivion as you like!! Sometimes i do, but this is the Speedrun version I use for comix so i wont be showing you how to render it into oblivion this way, but im sure you could figure it out with a little fucking around.
5. I’ll create a new clip layer and place it beneath the stubble layer and then prepare to use the soft airbrush.
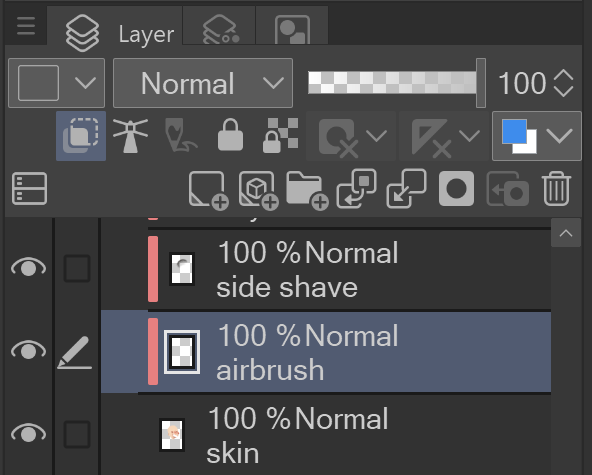
The color you choose going forward is a manner of opinion and taste, and for me it can even depend on the lighting or the character’s history of hair coloring, so it’s definitely up to you. but i’ll take the same color i was using before.
Gently with the airbrush at a very large size, i’ll begin to brush in near the top and edge of the head.
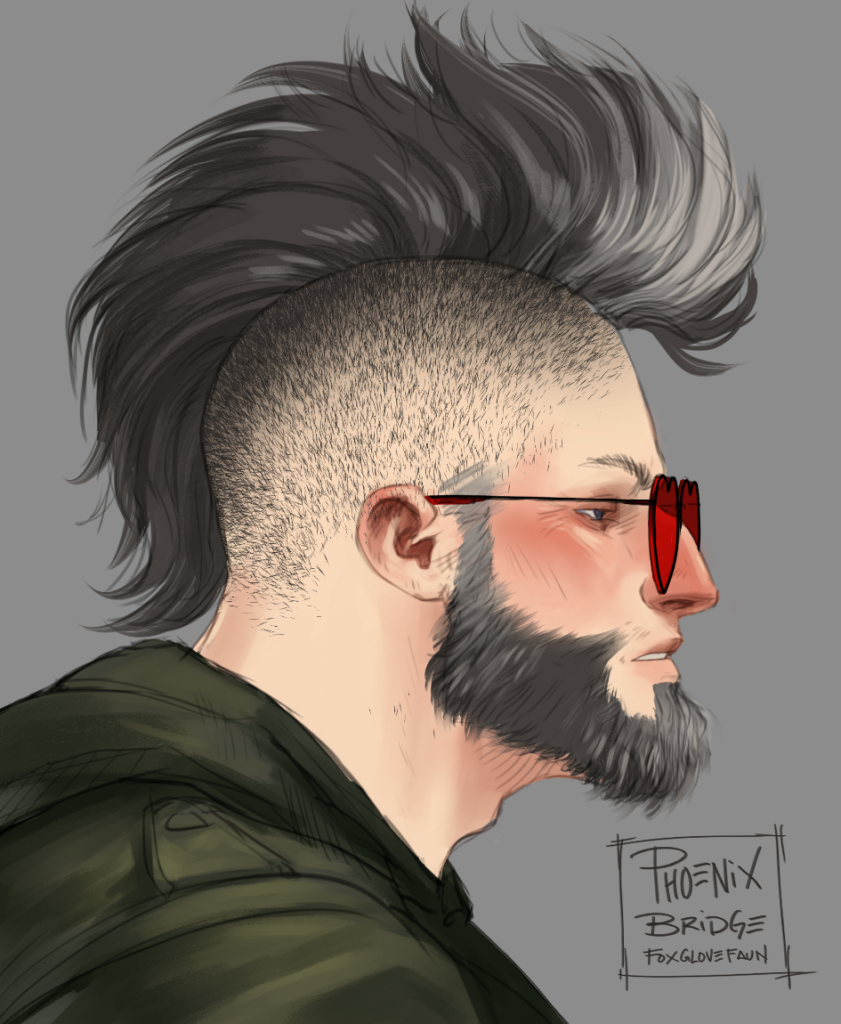
And i do mean gentle.
Sometimes I’ll change the brush density or hardness to give myself the most control over this section, because while this is informally the last step, it’s a really easy to fuck this up. This is why i’ll do another layer in case i need to lower the opacity or just straight-up toss the layer and start over. I don’t want to lose the careful stubble placement by smudging it out, so a second layer is a friend today.
*Protip: btw don’t be afraid to delete a layer and start over. fixing a layer can take more time than just starting over. try it out. you might like it.)
What comes next is something i dont really know how to teach with words, except “keep doing that until it looks right.”
sorry lol
sometimes that’s just how making art works. 
I’m not unhappy with this! It’s a little dark though, so i’m gonna lower the layer opacity a bit: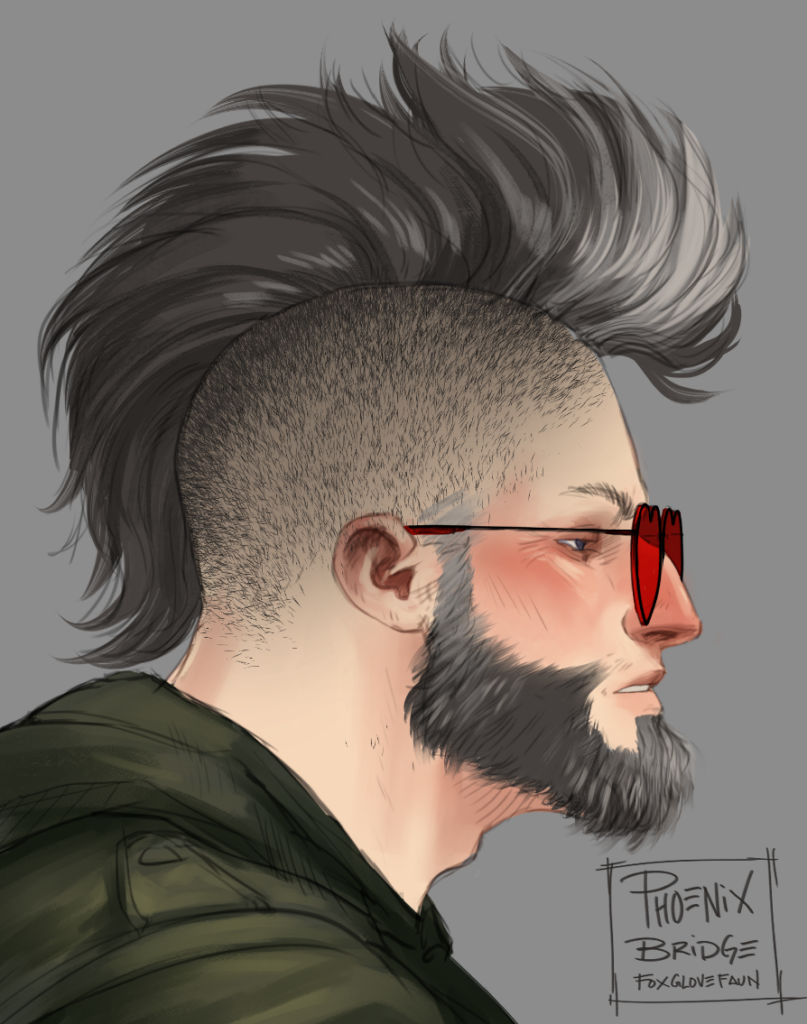
I know the shift may be subtle, but to me it reads as a significant difference. But im also a tetrachromat with weird shrimp eyes. so.. idk. do whatever looks best for your eyes. :)
At this point I like to start cleanup.
There’s a couple ways to do this, but i typically use an eraser/brush. You could use the lasso or even the gradient erase tool, but i don’t recommend anything too hard because the edges can be jarring if not done carefully. My painting style has both soft and hard edges, so this method looks best with my work if i find a semi-textured brush for this.
*to save time, I’ll merge these two layers first. You can clean up the layers separately, but this is Speedrun so im not doing that.
6. Follow the character’s hairline and carve that baby out!!!!!
Using a textured eraser can make the edges of the hairline feel a bit more natural. but! you can literally do! what you want! And sometimes the opposite works better for what you’re going for. If your character has one of those razor sharp cuts done by one of those god-tier barbers, a hard-edged brush might be your guy :)
But Ross doesn’t spend that kind of money on his hair, so i’m gonna keep it rough.

So that’s
kinda it!
You can dress this up or dress it down depending on your task at hand, whether it’s a fully rendered portrait or a comic panel that you just have to get out the door. It’s easy to customize for your needs, and once you get the hang of it you can speedrun that shit in ways you didnt think you could.
- currrently my speedrun stats for using this technique on a comic panel are:
– 3-4 strokes stubble
– 2 strokes airbrush
– cleanup
– approx 4 mins.
it’s fast and kind of loose, but it hasn’t failed me too often! :D
Anyway, practice is what brings satisfaction.
So like, dont expect Mario 64 speedrun levels of power from yourself right away. But I think after doing this maybe 10 times max, you’ll be able to start Mario 64 speedrunning this shit AND feel good about it.
so uh
good luck :)
enjoy.
thanks for reading this far if you did!
Don’t be afraid to fuck with all of these guidelines to suit them to your needs. You’re on your creative journey, not mine.
go forth and make some art you feel good about.
take care, drink water, make good choices
bye <3
-Fox

